
Hacienda Riquelme is the third 18 Hole Golf Resort to be opened by the ex Polaris World company now managed by IRM Golf Experience and designed by Jack Nicklaus (Nicklaus Trail).
This resort which opened to the general public on the 16th of June 08, had been anticipated to offer a different kind of challenge, by comparison to the other Nicklaus Golf Courses and is well worth a visit.
Hole 1 Par 4, 401 Metres
Now the fun begins, from the tee you require a solid drive between a series of bunkers on both sides of the fairway but the fairway is quite wide. There is out of bounds also on both sides but should not come into play at this one. The ideal line is just right of centre, once on the fairway you are left with a difficult approach to an elevated green. If into the breeze, you should take a least one extra club to avoid a series of imposing bunkers to the front of the green. To also avoid rolling back into the hollow short of the green. Anything long will find a further bunker behind the green.
Hole 2 Par 5, 516 Metres
From the tee this fairway looks narrow and it is and plays as stroke index 2 on the score card. You need a good long drive straight down the middle, most players should hit this green in the regulation three shots. Longer hitters may be tempted to have a go at the green in two but not only a long drive is required to this narrow fairway but the approach from distance is also narrowed by a series of bunkers which cut into the fairway from both sides and there is out of bounds if you block your second shot right. Once on the fairway players opting to play for position should try and hit up the right hand side of the fairway to open the green up for the third shot in and leave an easy uphill approach. Good play should be rewarded with the chance of a birdie at this hole. Again the green is protected by some difficult bunkers so be positive and bold when approaching this green from any distance. Pin position is key to securing a birdie opportunity. A surprisingly difficult Par 5 that will test you.
Hole 3 Par 4, 363 Metres
This hole is stroke index 12 on the score card and that should suggest that it is one of the easier holes on the golf course. The landing area is quite wide off the tee but a good drive is required to find the highest part of the fairway. Anything too short off the tee will leave you with a difficult uphill lie and an uphill approach to a relatively small green surrounded by three imposing bunkers and deep rough. Club choice is key to finding the putting surface regardless of the pin position, most players will be pleased to walk away with a par.
Hole 4 Par 5, 479 Metres
From an elevated tee you get a great view down onto the fairway of this cracking dog leg left par 5, it requires a good solid drive to avoid the fairway bunker. There is little room to the left of this bunker as water runs down the left hand side of the fairway all the way to the green. However, there is plenty of room to the right of the bunker. Confident long hitters will opt to drive over the bunker to find the middle of the fairway where there is a generous amount of space. From the fairway, you are faced with two options the first is to lay up short right where the fairway narrow’s, the second risky shot is to go for the green. With water on the left and a series of bunkers on the right it will take two exceptional shots to find this green in two with the wind direction playing a key factor. A good lay up should leave you with a comfortable short iron approach taking the water and the deep green side bunkers out of play. The green is tiered and the pin position is normally tucked in behind the front right hand side bunker so a birdie here is a great score. A nice looking par 5.
Hole 5 Par 3, 188 Metres
This is the first of the par 3’s and looks quite intimidating from the tee. You have to carry all the way to the green to avoid trouble. There is water on the left hand side which cuts in slightly 30 metres in front of the green and there are a series of daunting bunkers. These flank both sides of the green and a third at the rear. There is also deep rough on the right hand side. If you miss the green (avoiding the water) you will be fortunate to escape with a par. The only notable run off area is back right behind the right hand bunker. If into a head wind this is one tough hole and club choice can be difficult.
Hole 6 Par 4, 385 Metres
This is one of the easier driving hole on the course and only require a modest drive to a wide fairway to leave a short approach to a fairly generous green. Wayward drives can find out of bounds to the left and deep rough to the right but most players should be confident of finding the fairway and reaching the green in two shots. Longer hitters may be tempted to drive over the fairway bunkers which cut in from the left hand side but in addition to bringing these bunkers into play, there is water down the right hand side which could also come into play. This green only has one protective bunker to the right but the green has some very interesting borrows and players should check the pin position before choosing your club to secure par.
Hole 7 Par 3, 177 Metres
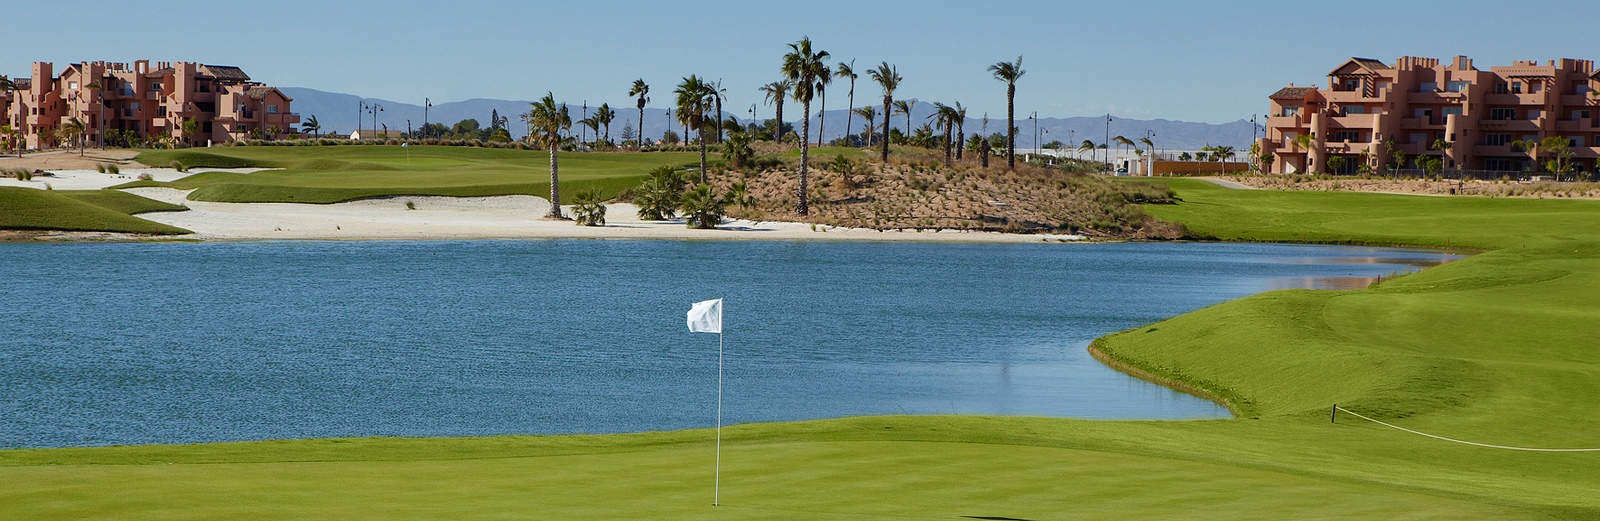
Yes another challenging par 3. From the yellow tee position this hole at 157 metres is difficult not least as the line onto the green is over the water hazard. You have to carry water to find the green which is one of the most generous on the course, so be bold. There is a run off area to the rear which is also banked and this will catch anything too aggressive. If you just miss the green you should feel confident in making an up and down. It’s worth mentioning that there is a bail out area to the left of the water hazard which some of you may consider in order to take the water out of play when the tee is at the maximum length. However, there are some bunkers which will collect anything hit too far.
Hole 8 Par 4, 336 Metres
Your score card should indicate that the 8th is stroke index 18 and therefore the easiest hole on the golf course. You should be confident of making a par if you opt for a conservative tee shot. The fairway is flanked with deep rough on both sides and the fairway is also narrowed by two fairway bunkers which cut in from both sides. If you opt to take the fairway bunkers out of play you should leave a relatively straightforward approach with a short to mid iron. The green is largely unprotected but you should pay attention to the pin position to avoid some subtle run offs on this tricky green.
Hole 9 Par 4, 369 Metres
This excellent dog leg right par 4 is one of the best holes at Hacienda Riquelme. Your drive demands accuracy and you must trust your yardage to give your self a chance of making the putting surface in regulation. There is water running the entire length of the hole down the right hand side, from tee to green and the ideal landing area on the fairway is narrow, not only with the fairway running left to right across the players line of sight but also due to the deep rough on the left followed by a small group of olive trees which also cut into the fairway. Players trying to be too aggressive will also have to be wary of a series of bunkers running from left to right. Players finding the fairway will be left with a challenging approach requiring an accurate shot to avoid the water and to clear the bunkers which protect the front edge of the green. Again, if you are too aggressive you could find trouble with a series of bunkers running across the back of the green. There is a bail out area to the left of the green but players avoiding any of the hazards, could give themselves a chance of saving par. The green is long, narrow, challenging and fast if above the hole and a good hole to finish the front nine.
Hole 10 Par 4, 322 Metres
From the tee you have to pay attention to the water hazard down the right hand side of the fairway and out of bounds down the left hand side. You should play for position off the tee to leave a good strike with a short iron to the green. The green is largely unprotected so you should feel confident in securing a par or better. A nice gentle start to the back nine. Big hitters may fancy trying to clear the bunkers down the left hand side but whether you are aggressive or conservative, most players will hope for a realistic chance at a birdie putt. There are a few interesting borrows on this green so try to get close to the pin with your second shot, as from long range it could be another three putt.
Hole 11 Par 5, 488 Metres
This slight dog leg left is a tricky but great looking par 5. The ideal line is over the fairway bunkers down the left hand side, this aggressive line will leave you with a shorter approach to a very tricky green and the possibility of reaching it in two, albeit over the water hazard !. Anyone finding the left hand fairway bunker or the deep grass further left could struggle to even make bogey at this hole. The safe opt is to drive down the right hand side of the fairway to a landing area in front of the second series of bunkers. From this position, you have the best line into the green but you still have to clear a small brook which runs right to left across the fairway. A must here is to avoid the water down the left hand side (which runs up passed the green) and a series of green side bunkers to the right. As daunting as this shot appears, you should trust your ability and try and carry the ball all the way onto the green. An accurate second shot finding the putting surface should be rewarded with at least a birdie. You can take out most of the danger by opting to lay up down the right side just short of the huge deep green side bunkers. A well thought out lay up should leave you with a simple approach and a good opportunity to either make a birdie or par. Played well, this is a rewarding hole but anyone struggling to find a good position off the tee will be heavily punished. This is a very good par 5.
Hole 12 Par 4, 352 Metres
There are a series of bunkers one after the other down the left hand side of this fairway and also long grass which cuts in from the right side. An aggressive drive over the middle of the bunkers, finding the fairway, will leave a very simple short approach to a wide open green. As this is not a long hole I would suggest a good conservative drive down the middle which should leave you will a wedge or 9 iron onto the green. The only danger at this hole are the bunkers one short left and one to the rear of the green. You need to be bold with your approach shot as the green is slightly elevated with a slope up to the green, if you land short you wont make the putting surface. Anyone failing to find the green in two, should still feel confident in making par.
Hole 13 Par 4, 360 Metres
A solid drive finding the centre of the fairway should yield a par on this hole. There’s bunker down the left side of the fairway and a series of bunkers down the right hand side. However, the fairway is more generous than it may look from the tee so you should feel confident in finding a good position to attack the green in two. The main thing at this hole is to find the fairway from the tee. Anything straying too far left from the fairway will find long grass or even out of bounds. Likewise, anything too far right will find long grass and a cluster of olive trees. Pin position is crucial on this green (so go up and have a look) as it will heavily determine what you do with your approach shot. A pin position to the centre or left of the green will allow you to be aggressive, as there is a run off area to the left of the green and no bunkers to the front. The ideal line into this pin is from the left hand side of the fairway. A pin located to the right of the green will bring into play a series of tricky green side bunkers to the front right hand side. Finally, the green has a number of borrows which could potentially punish you once on the green.
Hole 14 Par 5, 476 Metres
Now for the last of the par 5 and its a cracking golf hole.Officially the most difficult hole on the golf course at stroke index 1 on your score card. Standing on the tee, your eye’s are drawn to a narrow landing area you need to thread your drive between two sets of fairway bunkers. The ideal landing area is slightly elevated which lengthens the hole for most players. Longer hitters who manage to rip a drive straight down the middle, will have the chance to go for the green in two, albeit with little room for error. For the majority of players, a well thought lay up is required to leave a good angle of approach to the pin. The lay up is no “gimme”, you have to negotiate several large bunkers to leave the best line into the pin. A decent lay up should leave you with a straight forward approach onto a 30 metre wide green. There are a few subtle borrows, but you should feel confident of at least securing two putts. Stroke index 1 is probably a true reflection of this hole and anyone making an eagle will certainly have earned the bragging rights in the bar.
Hole 15 Par 3, 190 Metres
As with all the par 3’s at this course it takes a good strike to get close to the hole. A flag located to the left of the green will allow you to be slightly more aggressive from the tee. The left hand side has a run off area however anything too long could find a tricky bunker. If the pin is positioned to the right or towards the back of the green, you will have to think twice about taking on the flag as there are some intimidating bunkers to the front and right side of the green. Club choice is made difficult at this hole depending on where the pin is on the day you play, par is good here.
Hole 16 Par 4, 348 Metres
This par 4 has a very generous fairway and you should feel confident of finding a good position from the tee with driver. There is water on this hole and anything pushed too far right will cross a lateral water hazard running parallel to the fairway. The ideal line is down the left centre of the fairway, leaving a more direct line to approach the green. Players straying down the right hand side of the fairway will have to approach the green over the water hazard. Longer hitters’ could bring this water into play as the fairway starts to slope down towards the water hazard . Once finding a good position you should only have about 100 metres or less to the green, you should feel confident of at least making a par. This green is 32 metres deep but it doesn’t look like that from the fairway and the run off area behind the green is banked in favour of stopping the ball running into the rough.Watch out for the large bunker to the right side of the green, this is a good looking par 4.
Hole 17 Par 3, 198 Metres
From the tee this hole play dead straight and is the toughest par 3 on the golf course. The key to making par at this hole is club choice as you have to carry the ball all the way onto the putting surface to avoid landing short into a series of bunkers in front of the green.I would say the safe shot here is to take more club and be big as there is no trouble through this green. Despite the green looking small from the tee, the green is quite generous at 32 metres deep and with more space behind the bunkers than it appears from the tee. There are some tricky borrows on this green and if putting from the front edge to a pin position at the back you could find your self running off the putting surface, particularly towards the left hand side of the green. If you miss the green and avoiding the bunkers, you can still make par with a good chip and run.
Hole 18 Par 4, 408 Metres
This is a great finishing hole it is interesting and challenging to close your round of with. This dogleg left, has water running down the left hand side of the fairway and it is particularly difficult off the back tees and plays as stroke index 3 on your score card. You must avoid the lateral water hazard on the left and the fairway bunker on the right and try to land on this narrow fairway. Once you find the fairway you are left with arguably the most difficult shot on the golf course. The line into the green is tight and you are conscious of the water eating into the green on the left, there are also a series of fairway bunkers and very deep green side bunkers to avoid. With little margin for error you have to take on the green or try to pick a spot short right to lay up. An interesting decision which could prove decisive on match play days. The green is 29 metres deep but quite narrow and there is some room towards the back of the green should you wish to take an extra club. A birdie here is a great score to finish with.
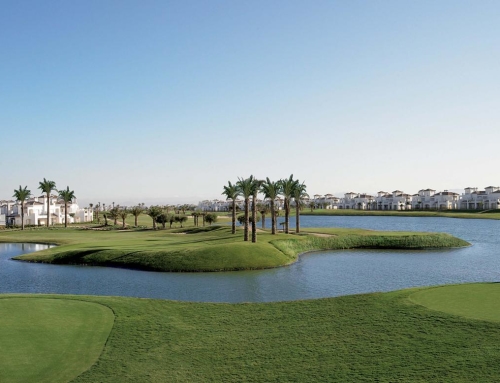
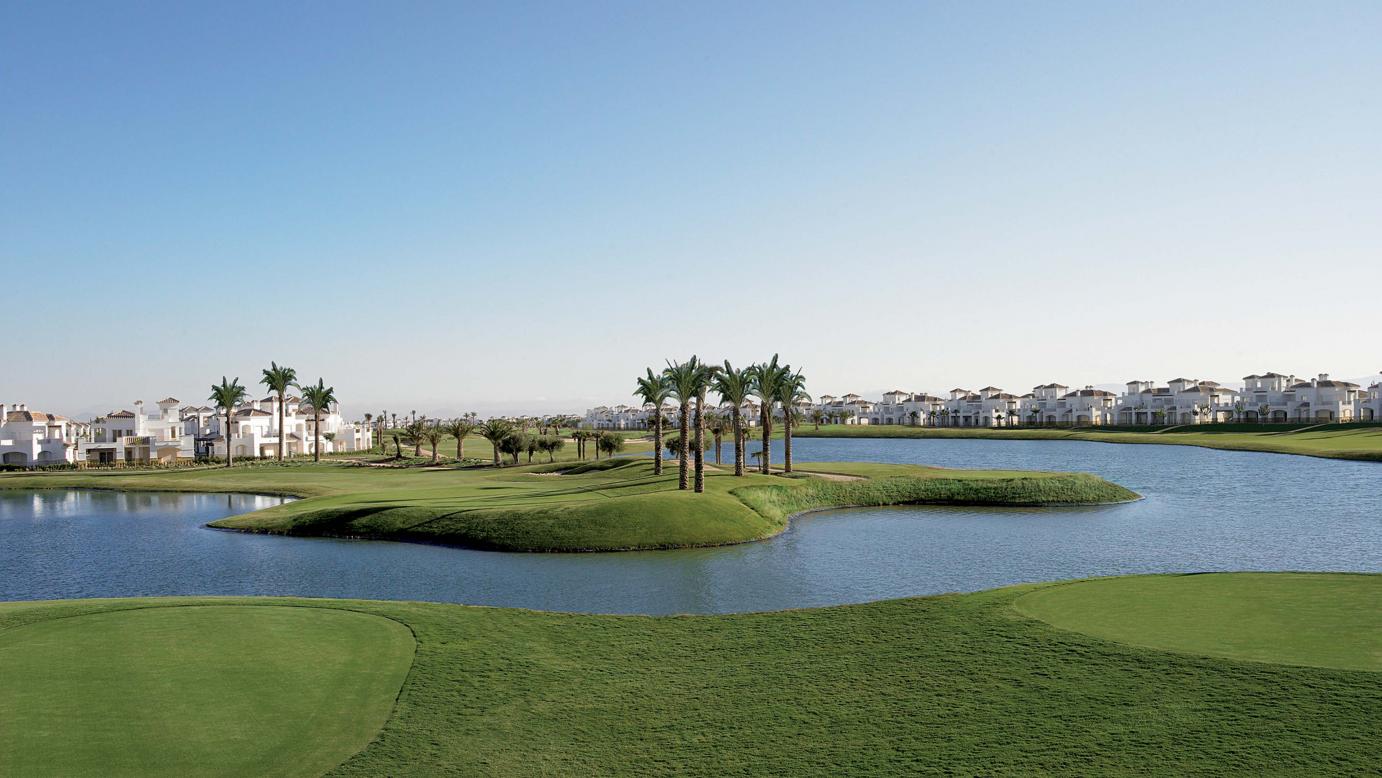
This golf course clearly offers a different challenge compared to the other Polaris World Resorts and importantly, it also compliments the existing courses within the Murcia region. At 6356 Metres off the White tees, the course is not long but the use of the terrain and the combination of water hazards, links style grassy areas and steep bunkers makes the course appeal to golfers looking for a stern test of golf. The course is new and it does require some finishing touches around the edges but as for the course its self it can only be described as fantastic from tee to green. The speed and quality of the greens are superb; this all adds to the challenge of the course and will no doubt be a popular Tournament venue. The old Hacienda once complete will also add to the drama of the finishing hole as a unique and impressive clubhouse.
Facilities: Club house, bar, Pro shop, buggy hire, putting green, driving range.
Our rating 5 out of 5.
This 18 hole review was written by Steven Franchi.
GOLF COURSE UPDATE, Steven played this golf course 21 June 2015 with some clients and everyone agreed that this is without a doubt a true PGA championship golf course. The tees and fairways are throughout the year in good condition.
The greens tend to be firmer than most others, but always in excellent condition.
Its a real treat for anyone who enjoys a challenge and is a good test of golf for all levels of golfer.
It also has a modern and contemporary bar/lounge with many plasma TV’s to watch sport while you enjoy a cold refreshing beer.
Location: Hacienda Riquelme, Sucina,Murcia
18 Holes | Par 72 | 6356 Metres
Check out our other Discounted green fees Spain
Click to display location map
*Published and discounted fees depending on party size.


Leave A Comment
You must be logged in to post a comment.